Nutter Butter Ghost Cookies
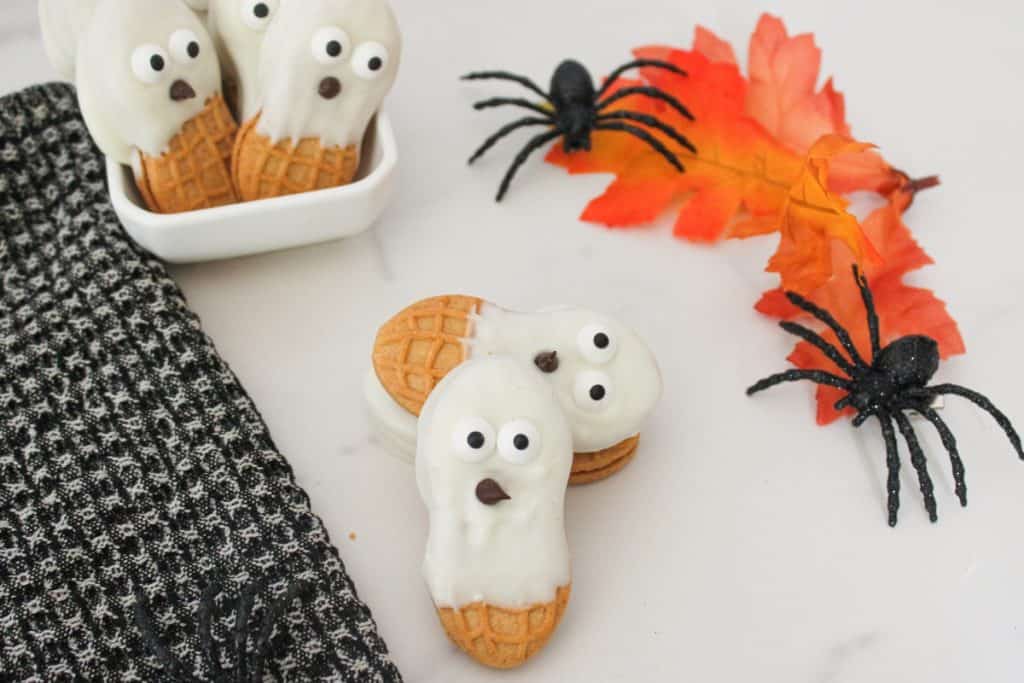
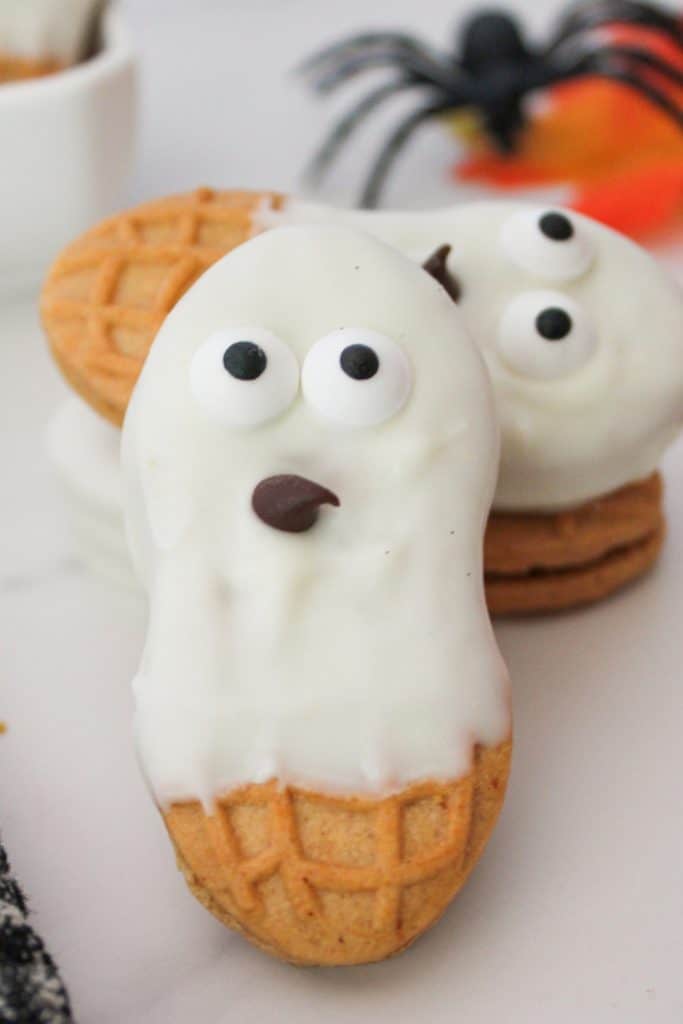
Nutter Butter ghost cookies turn four store-bought ingredients into a Halloween treat you can make without turning on the oven. Dip the peanut butter sandwich cookies in white candy coating, add candy eyes and a chocolate-chip mouth, then let them set. A batch makes 12 ghosts for a party tray or an afternoon of decorating with the kids.
For this version, leave the lower quarter of each cookie bare so you have a place to hold it while dipping. Set out the eyes and chips before melting the coating: you need to add each face while it’s still wet.
Why You’ll Love These Nutter Butter Ghost Cookies
I like a Halloween treat that doesn’t require a full baking project. These start with ready-made cookies, and a few leftover candy eyes or chocolate chips from another baking project can go toward the faces. The peanut shape gives each ghost a rounded head without a cookie cutter.
You can decorate the cookies one at a time, so the coating doesn’t harden before the eyes go on. An adult should handle the melted candy coating; kids can help set out the decorations and add the faces once it’s safe to work beside the bowl.
Want a printable version of this recipe? Scroll down to the bottom! ⬇️
Ingredients for Nutter Butter Ghost Cookies
You’ll need four ingredients, plus wax paper for the baking sheet. The amounts below make 12 cookies; check that your candy eyes are ready before you start dipping.
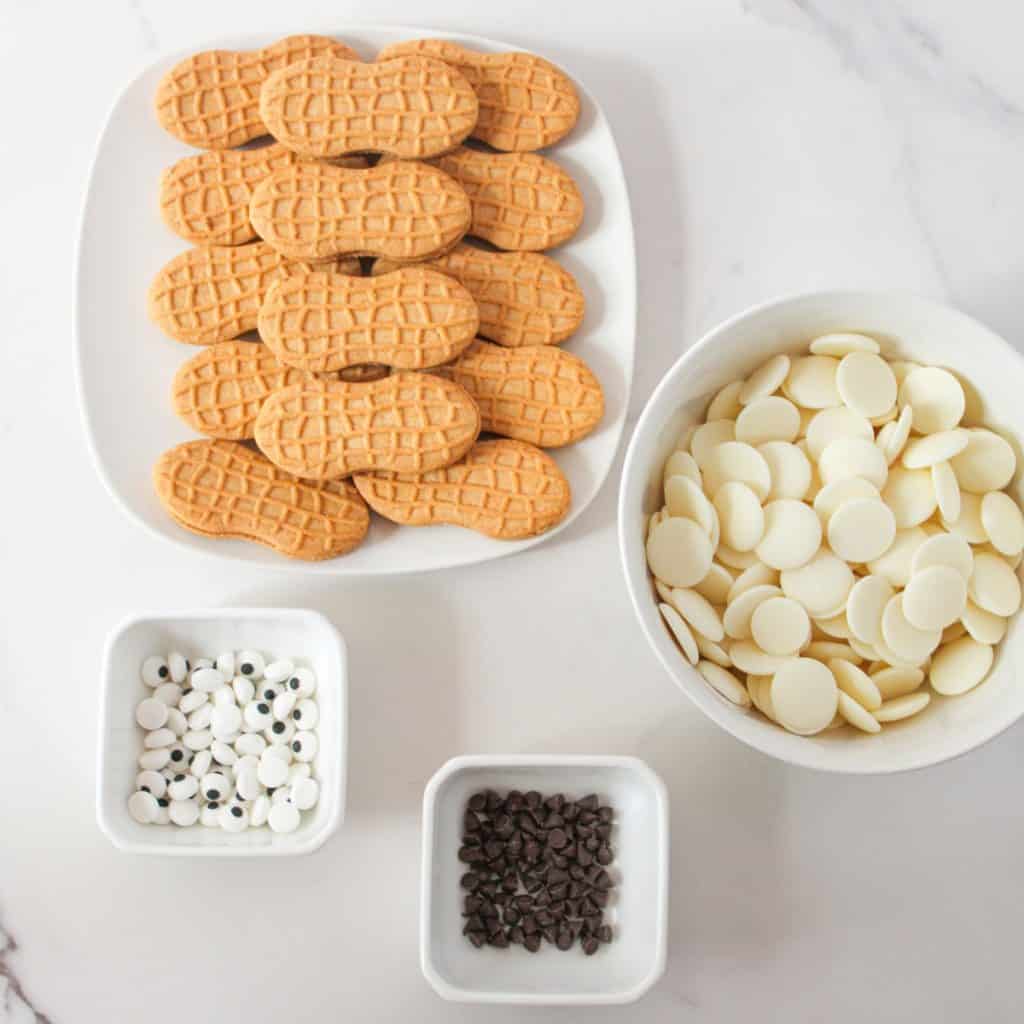
- 12 Nutter Butter cookies: Use the peanut-shaped sandwich cookies so the dipped tops look like ghost heads. Set aside any broken cookies for snacking rather than trying to dip them.
- 1 cup white candy melts: These make the white coating. Follow the melting directions on your package and keep water out of the bowl.
- 24 candy eyeballs: Two for each ghost.
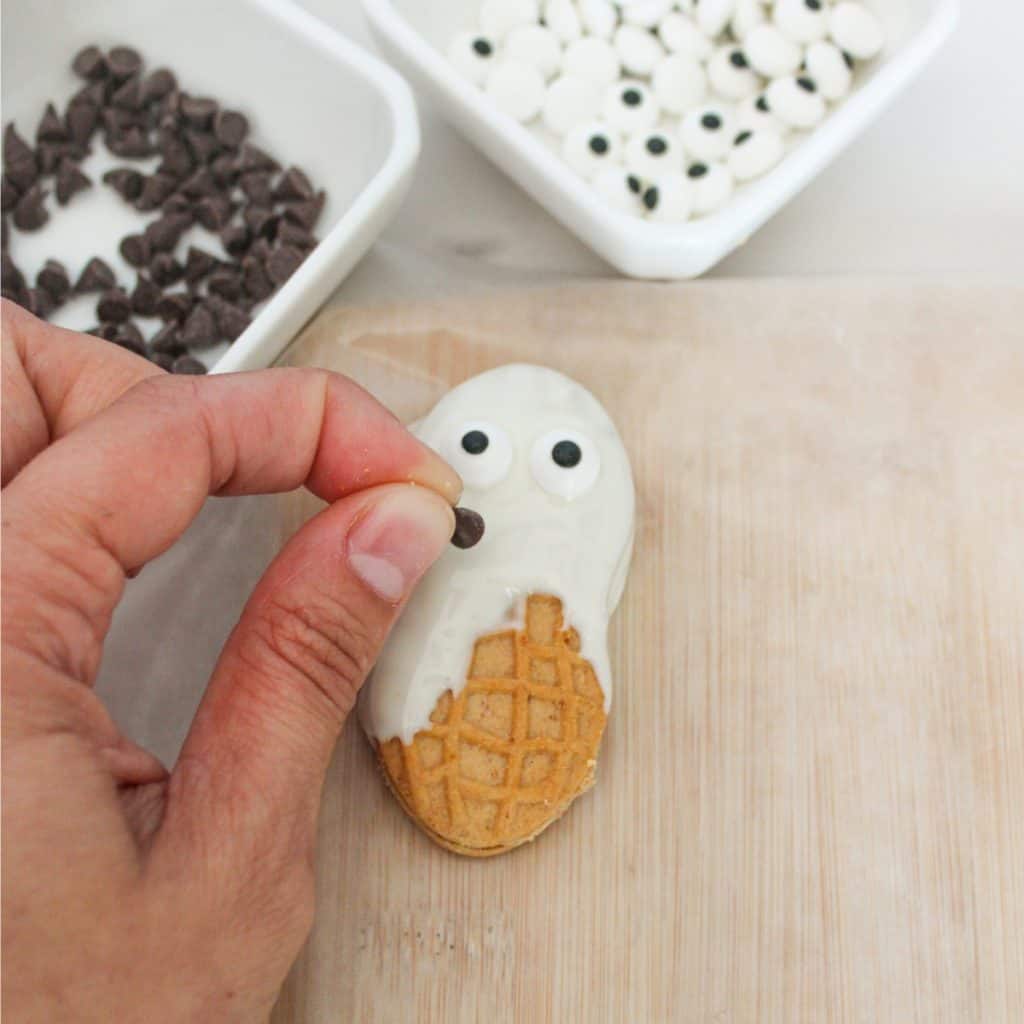
- 12 mini chocolate chips: One for each mouth. Point the tip outward for a small open-mouth look, or press the flat side into the coating.
How to Make Nutter Butter Ghost Cookies
Line a baking sheet first and keep the decorations close to your work area. Dip and decorate each cookie before moving on to the next.
1. Set up the tray
Cover a baking sheet with wax paper. Count out the cookies, eyes, and chocolate chips so the faces are ready to assemble.
2. Melt the coating
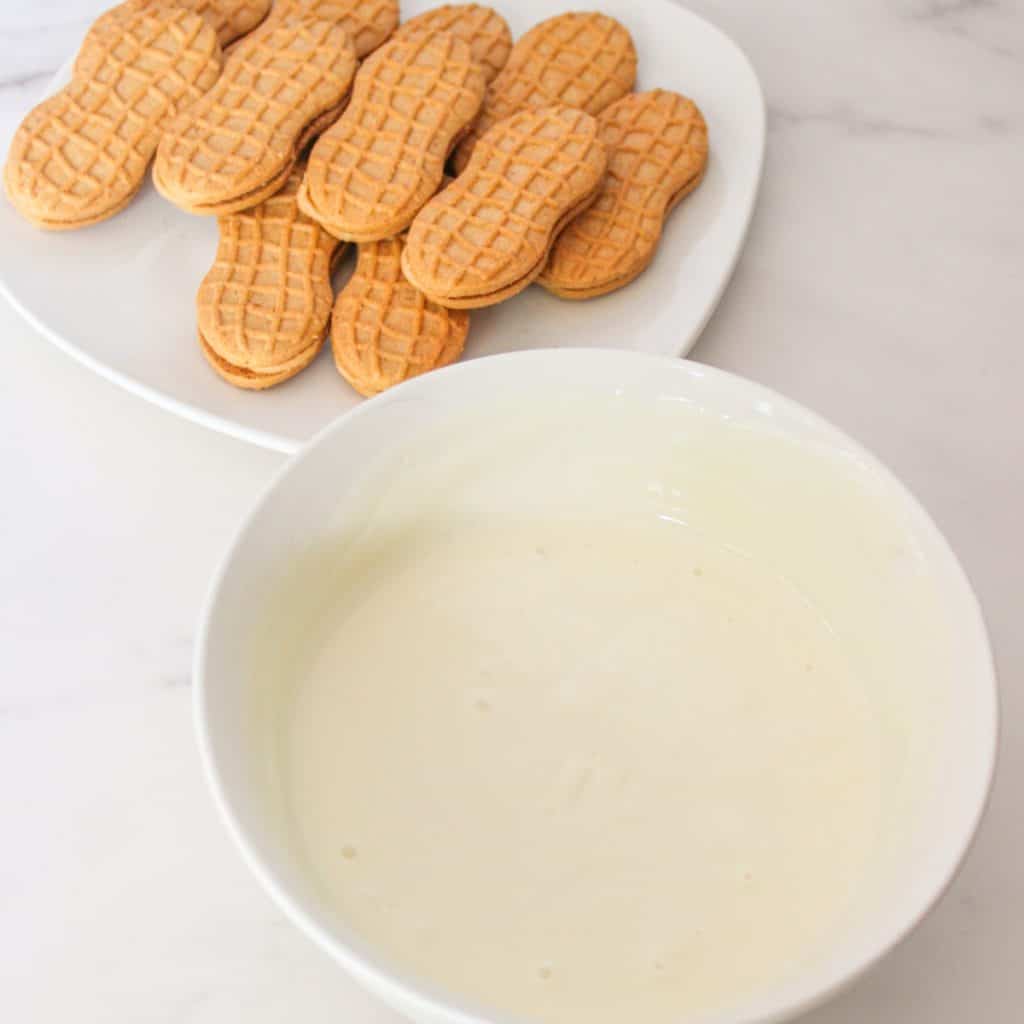
Melt the white candy melts according to the package directions. Stir until the coating is smooth enough for dipping.
3. Dip and decorate
Hold a Nutter Butter by its lower end and dip the top three-quarters into the coating. Lift it out and let the excess drip back into the bowl.
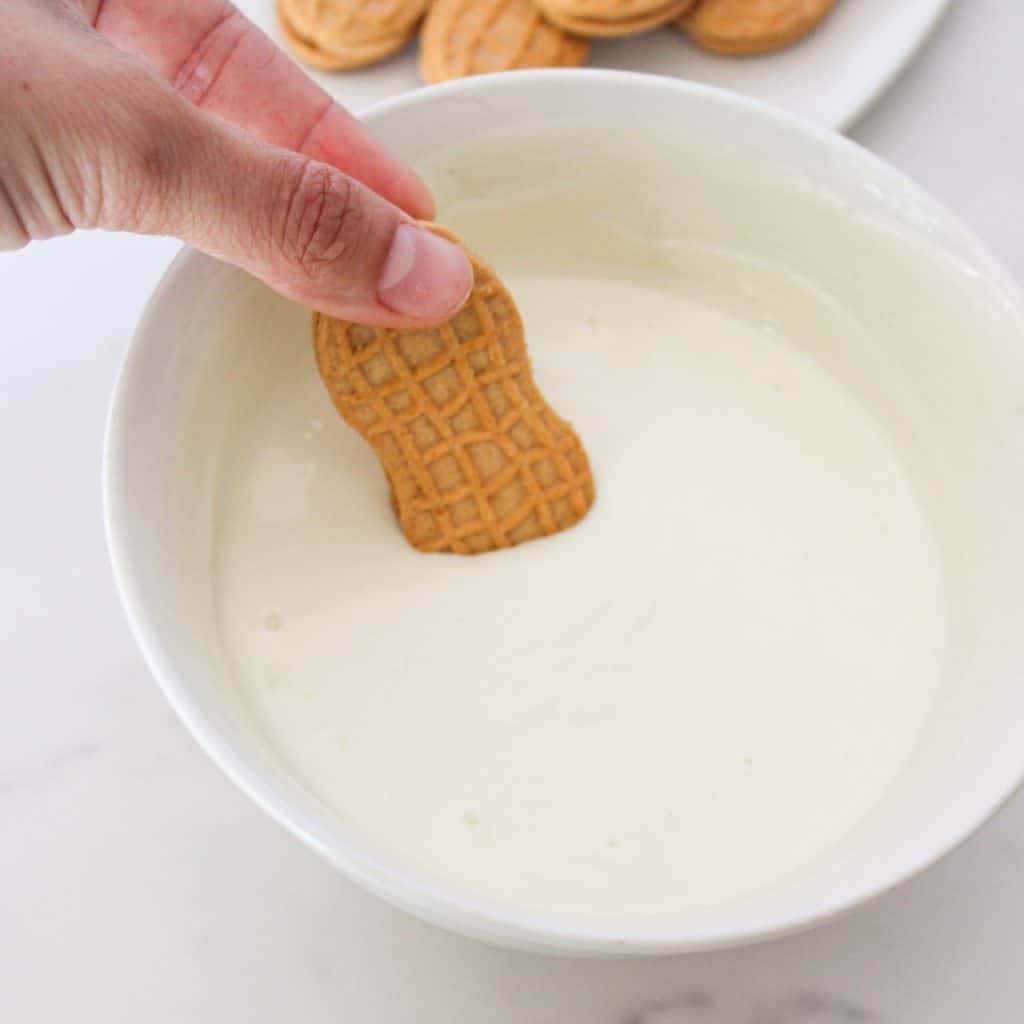
While the coating is wet, add two candy eyes and one mini chocolate chip below them for a mouth. Place the cookie on the lined sheet and repeat.
4. Let the ghosts set
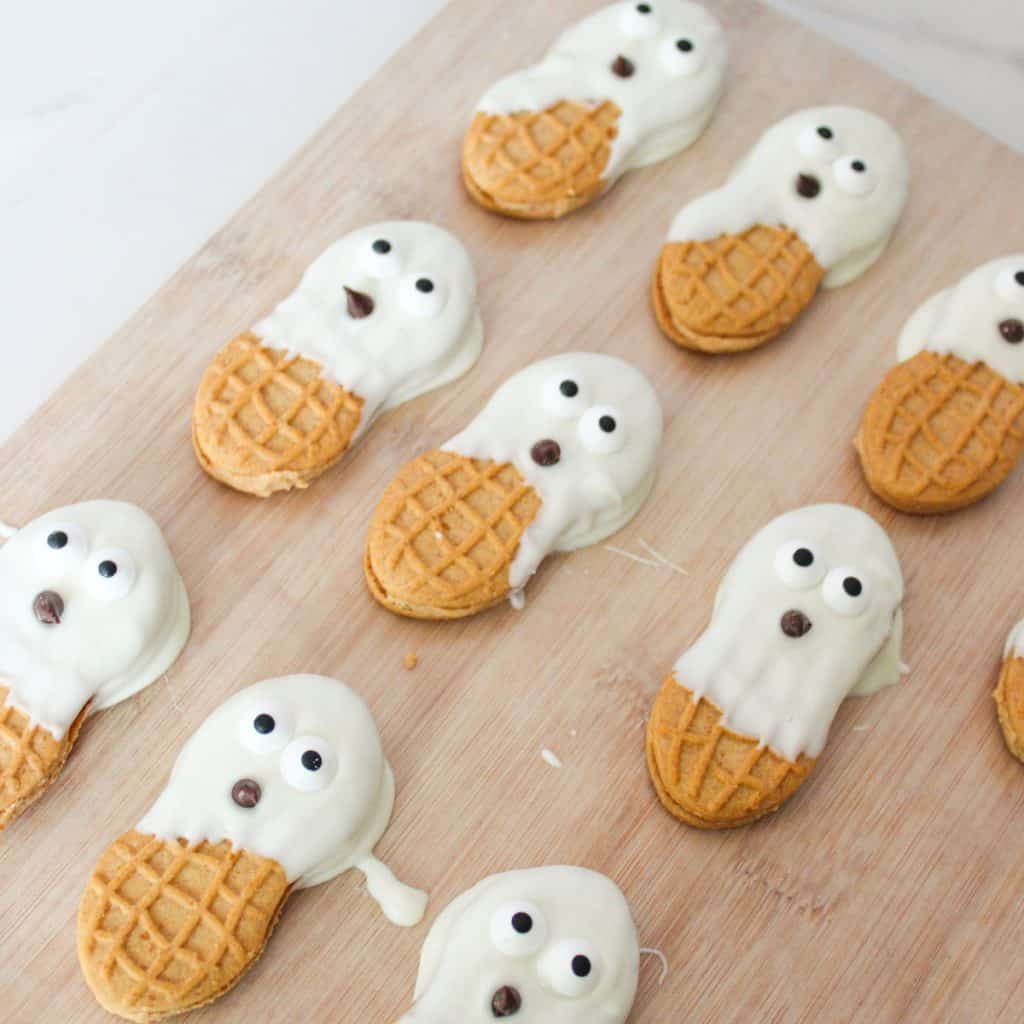
Leave the cookies on the wax paper for about 5 to 10 minutes, or until the coating feels firm. Lift them gently from the paper before serving.
Sarita’s Recipe Tips
The little decorating details matter most with these cookies. Here’s how I’d keep the ghosts tidy and make the batch easier to assemble.
Set out the faces first. Count out two candy eyes and one mini chocolate chip per cookie before you melt the coating. That way, you’re ready to decorate each ghost right after dipping it.
Leave a handle. Dip only the top three-quarters of each cookie. The uncovered end gives you something to hold and creates a clean edge beneath the white ghost.
Let the extra coating fall away. Hold the dipped cookie over the bowl for a moment before adding its face. A heavy layer can make the eyes and chocolate chip slide.
Work one ghost at a time. Add the face while the coating is still soft, then move to the next cookie. If the candy melts thicken, warm them again as directed on the package; don’t stir water into the bowl.
Using Up the Extras and Serving Ideas

This is a handy small batch when you have candy eyes or mini chocolate chips left after another Halloween project. Make the 12 ghosts first; put any unused decorations back in their containers.
I would put these on a tray with my no-bake peanut butter cornflake cookies for Halloween for another peanut butter treat, or add pumpkin s’mores cookies for a baked option. Add a few of these cute no-bake Pretzel scarecrows too. Kids love them! My fall cookie recipe collection has more ideas if you’re planning a larger spread.
Storage and Make-Ahead
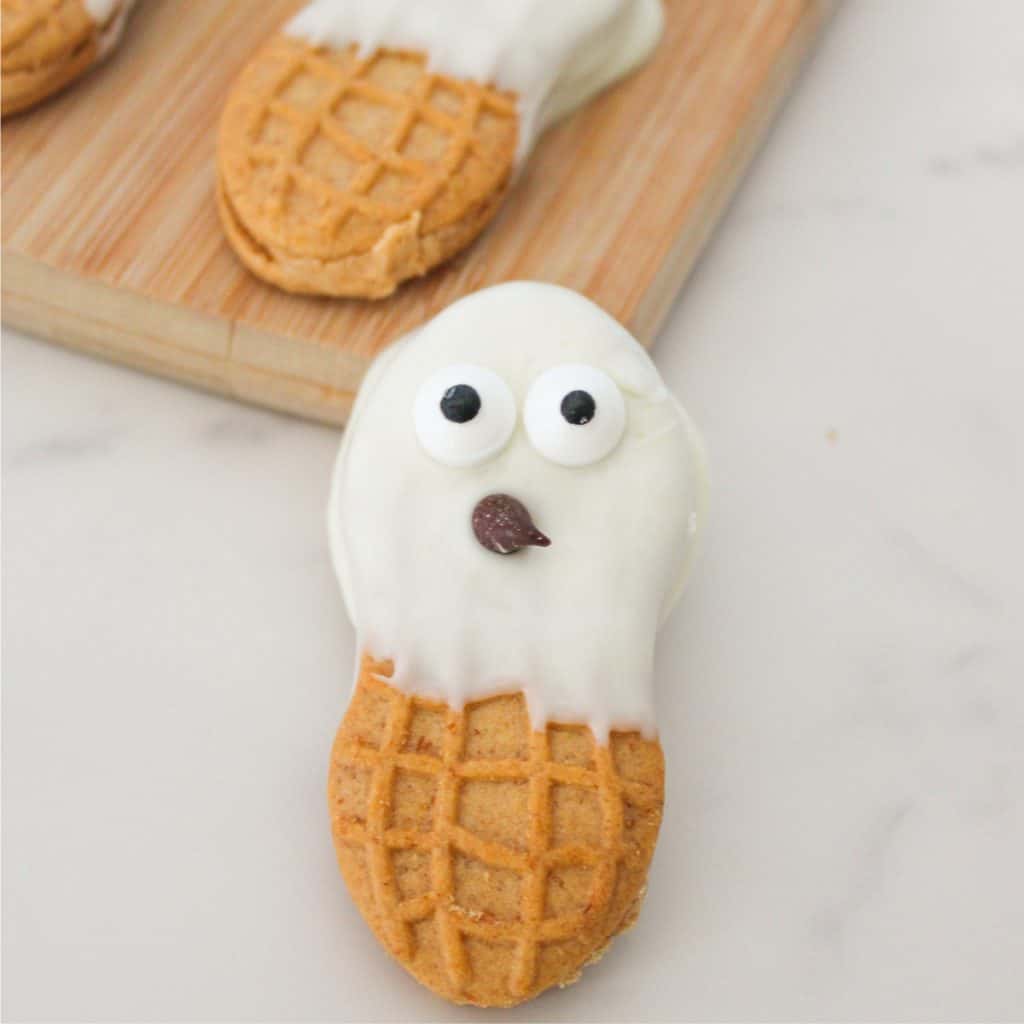
Let the coating harden completely before packing the ghosts. Place them in a single layer in an airtight container in a cool, dry spot, or separate layers with wax paper so the faces don’t rub together. For the neatest appearance, make them within a day or two of serving. There’s no reheating: the coating should stay firm.
Nutter Butter Ghost Cookies FAQs
These are the questions I’d answer before starting a batch. Keep the cookies and decorations ready so you can work while the coating is fluid.
Do I need to bake Nutter Butter ghost cookies?
No. The cookies are ready to eat, and the candy coating sets after dipping. You only need to melt the coating and assemble the faces.
Why won’t the candy eyes stick?
The coating may have started to set. Press the eyes and chocolate chip into each cookie immediately after dipping it. If needed, dab on a little freshly melted coating to attach a loose eye.
Can I make these ahead for a Halloween party?
Yes. Let them set, then pack them carefully in an airtight container. Keep them cool and dry, and avoid stacking them directly on top of one another.
Do these contain peanuts?
Nutter Butter cookies contain peanuts. Check every package label, including the decorations and candy melts, if you’re serving someone with an allergy.

Nutter Butter Ghost Cookies Recipe Card

Equipment
- 1 baking sheet
- 1 sheet of wax paper
- 1 mixing bowl
Ingredients
- 12 Nutter Butter sandwich cookies
- 1 cup white candy melts
- 24 candy eyes
- 12 mini chocolate chips
Instructions
- Cover a baking sheet with wax paper. Put the eyes and chocolate chips within reach of your work area.
- Melt the white candy melts following the instructions on their package, stirring until smooth.
- Hold a cookie at its base and submerge the rounded end until about three-quarters is coated. Pause above the bowl to let the extra coating fall away. Before it hardens, press two eyes and one mini chocolate chip onto the white portion. Transfer to the lined sheet and make the remaining ghosts the same way.
- Leave the cookies on the tray for 5 to 10 minutes. Serve when the coating is firm.